
Compiled for the EMM Lab by W. Kees Schuller. With thanks to Swati Mehta for web support, and Dwayne Collins for 3d file support
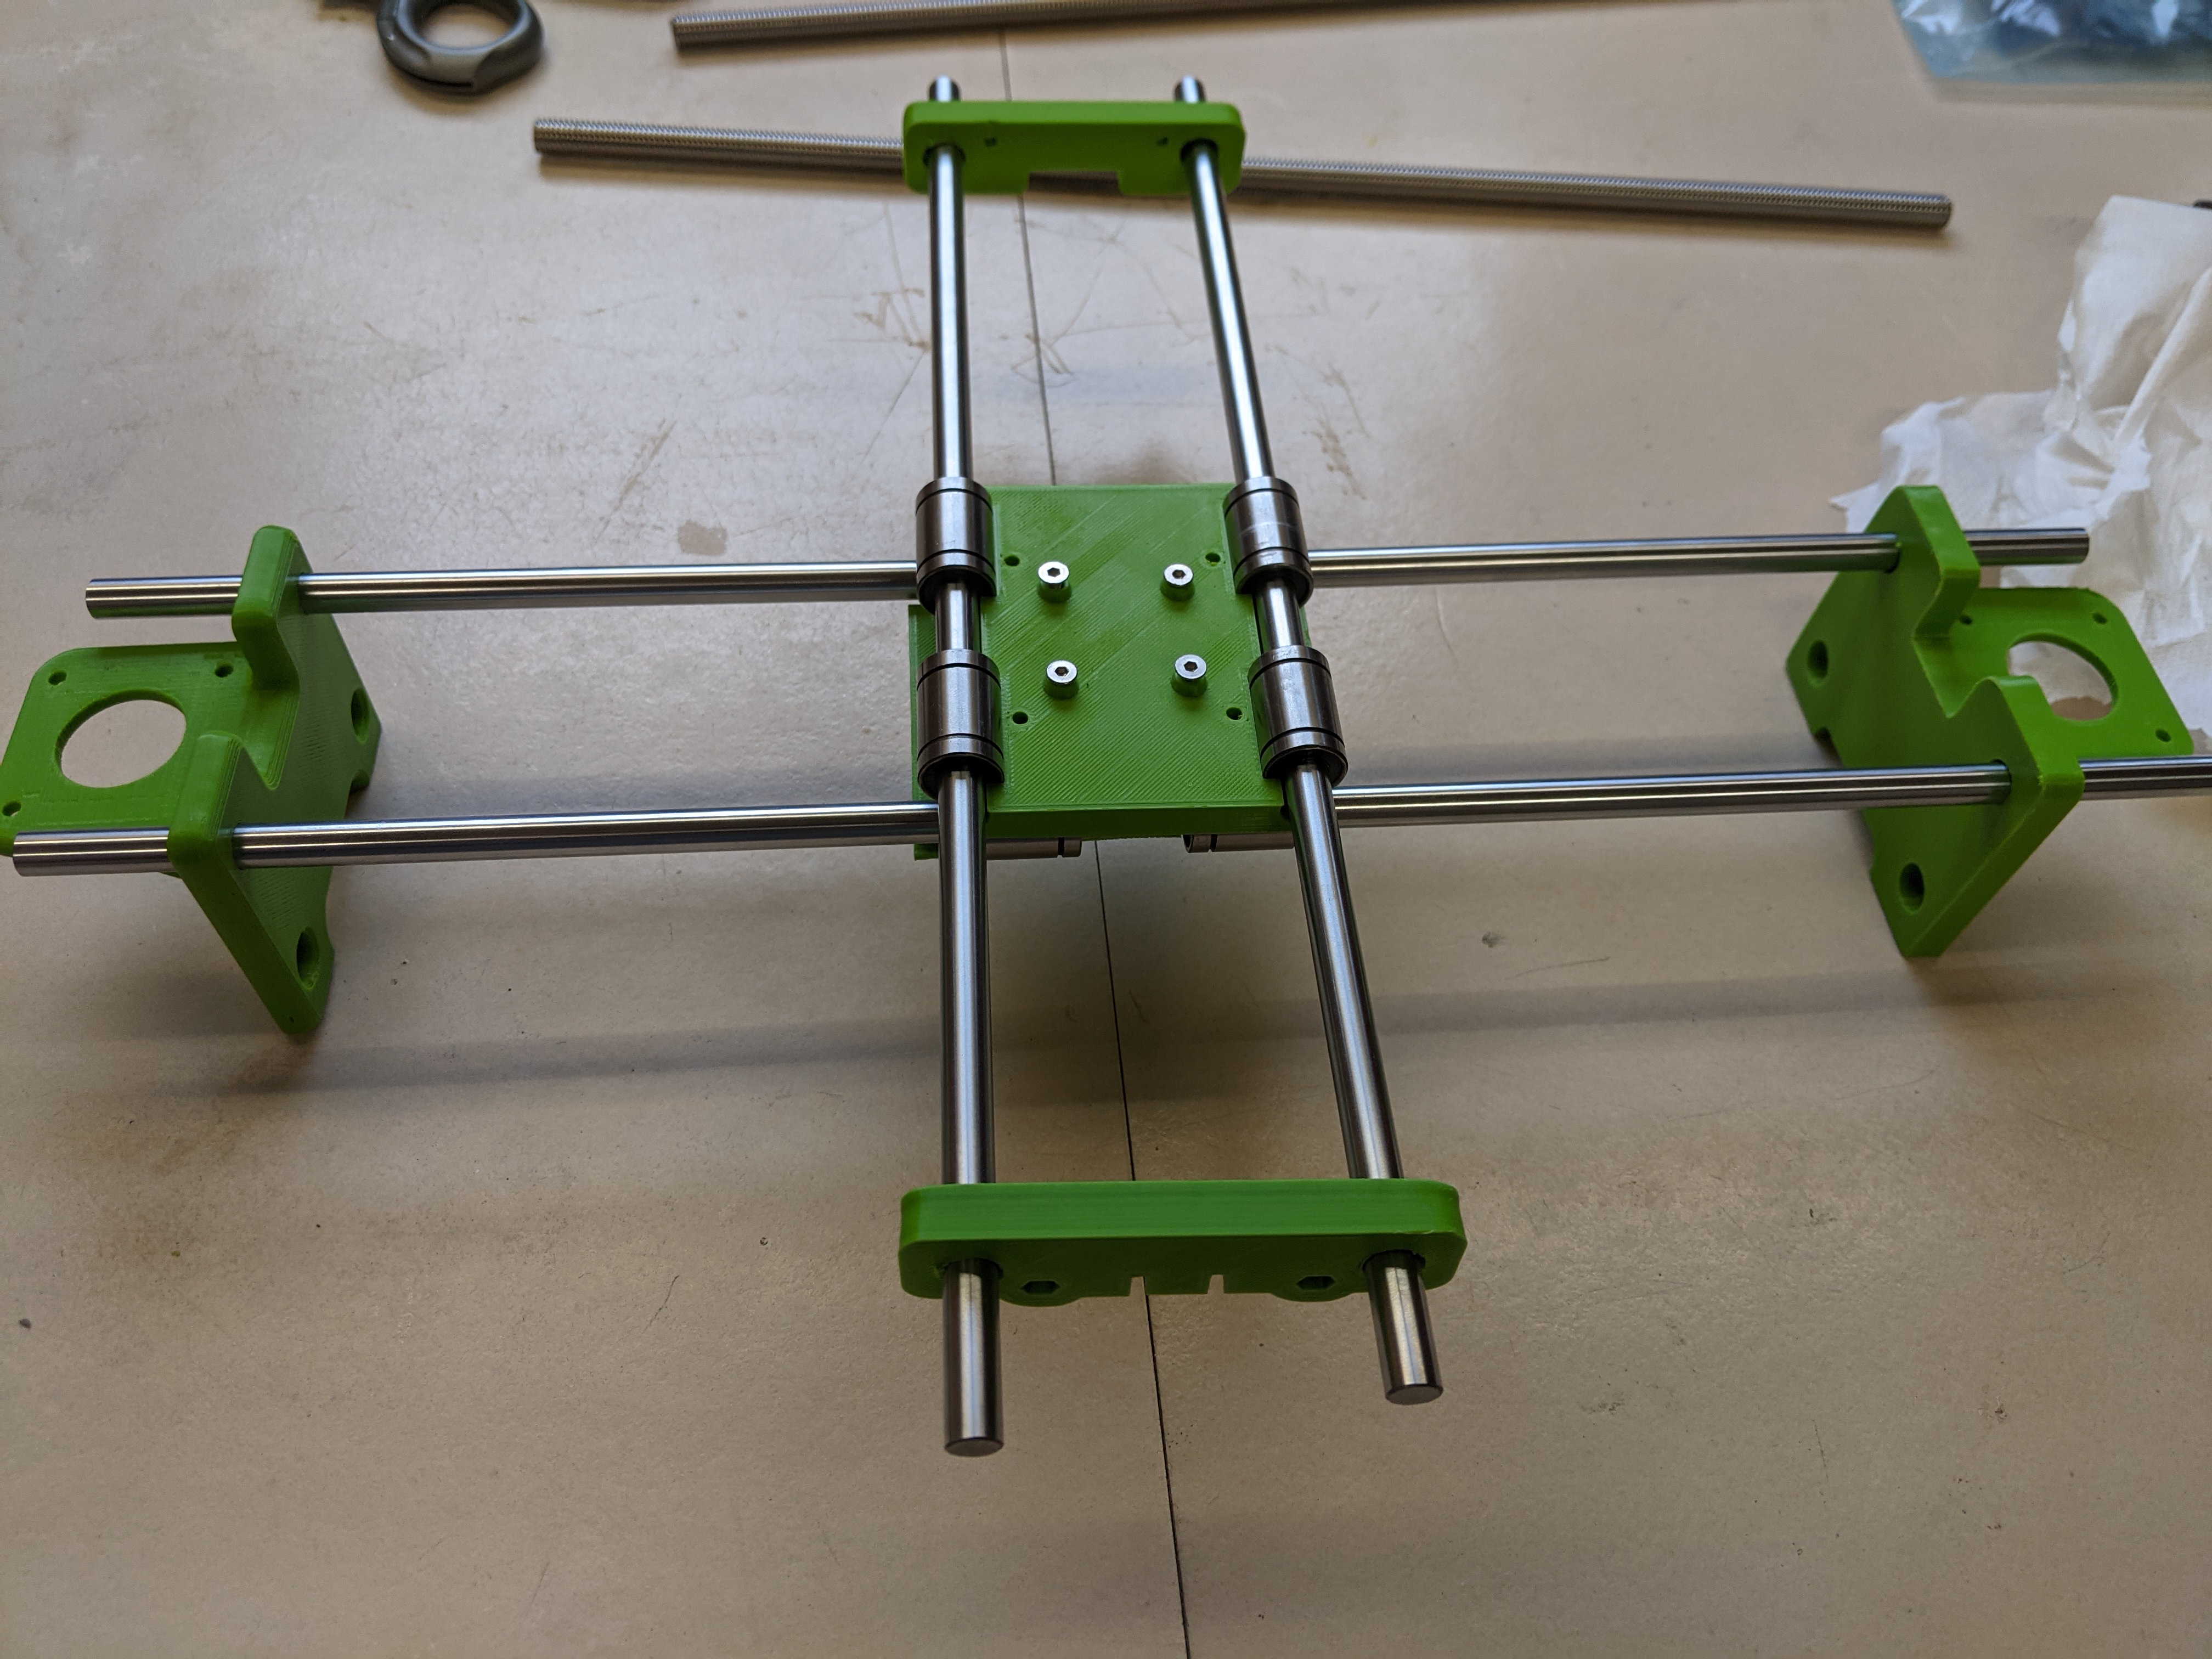
Once assembly began, I immediately encountered issues. While we had the necessary parts, and some assembly could be done (such as combining two timing belts into one timing belt of the required length), the majority of the assembly couldn’t be. The issue was that the 3d printed parts did not have the accuracy of the laser cut parts used by the designer – as such, many of the components didn’t fit together like they were supposed to. While drilling, filing, or otherwise re-shaping the parts worked for some of the components, a majority of the 3d printed components were not viable, even after these modifications.
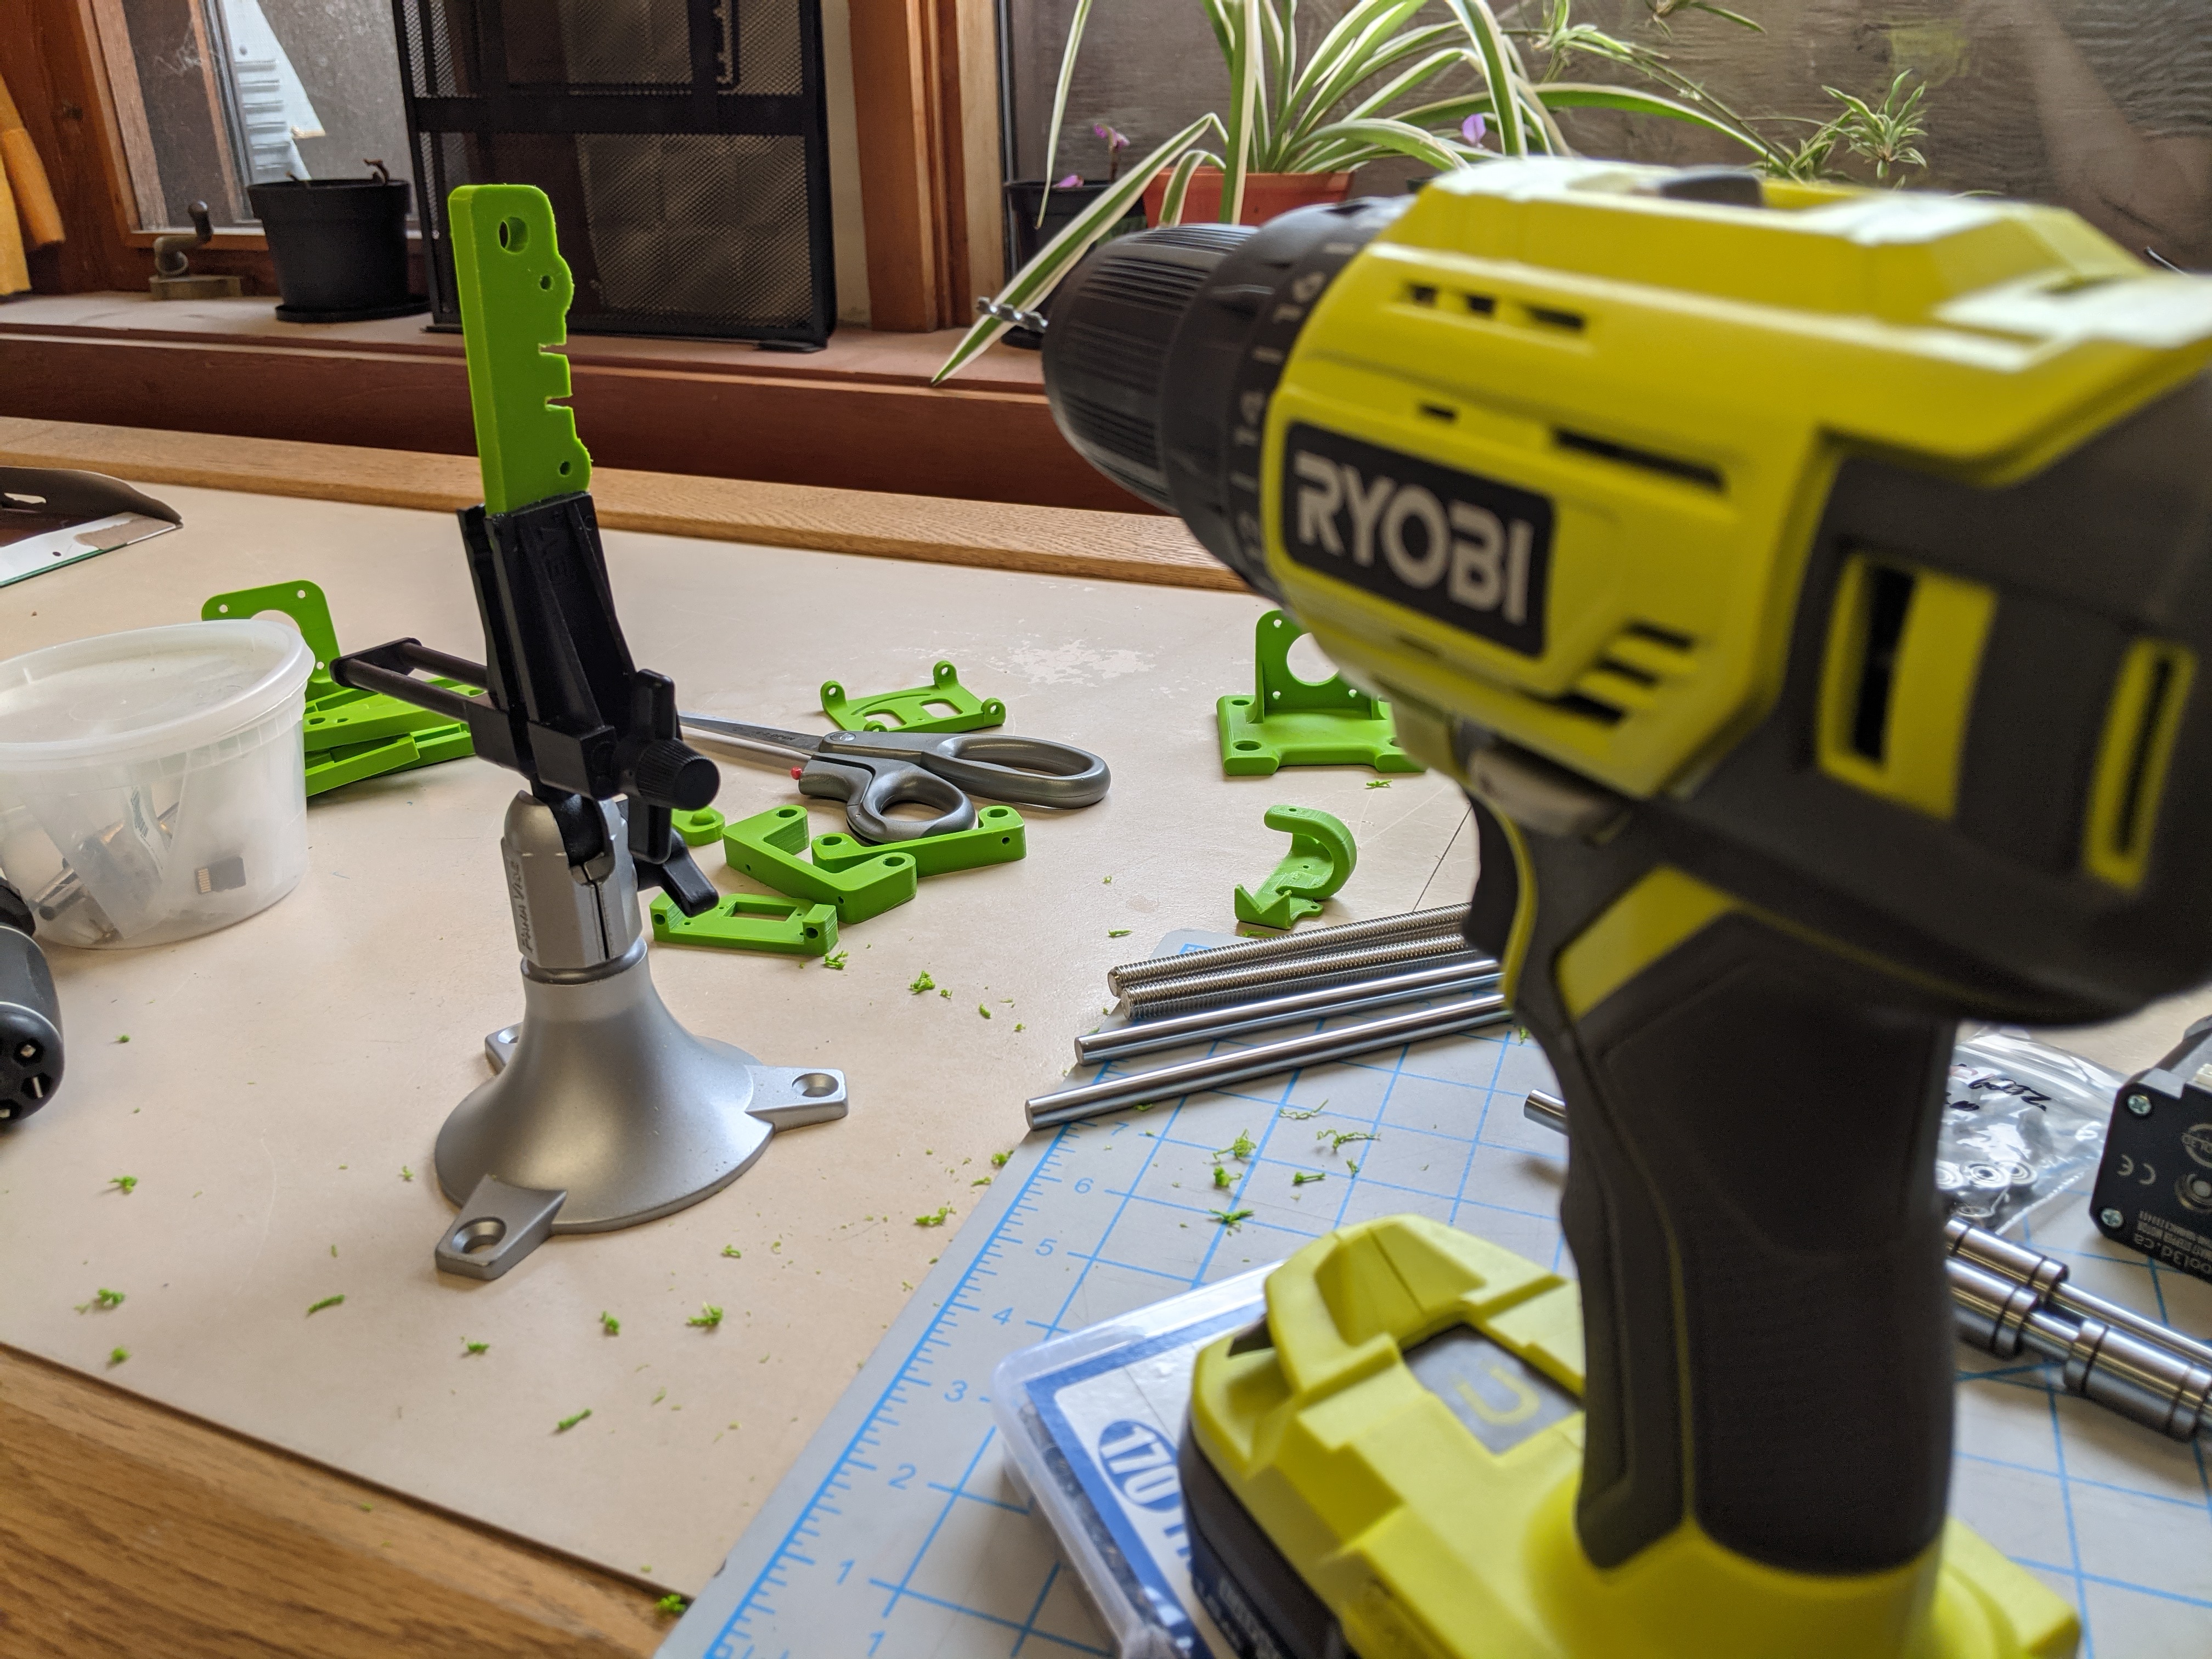
Re-printing the parts at a higher accuracy and specificity (using the highest settings on the 3d printer, an Ultimaker S5 3D Printer) still did not result in viable parts, either due to a lack of accuracy, or due to the 3d files not being correct.
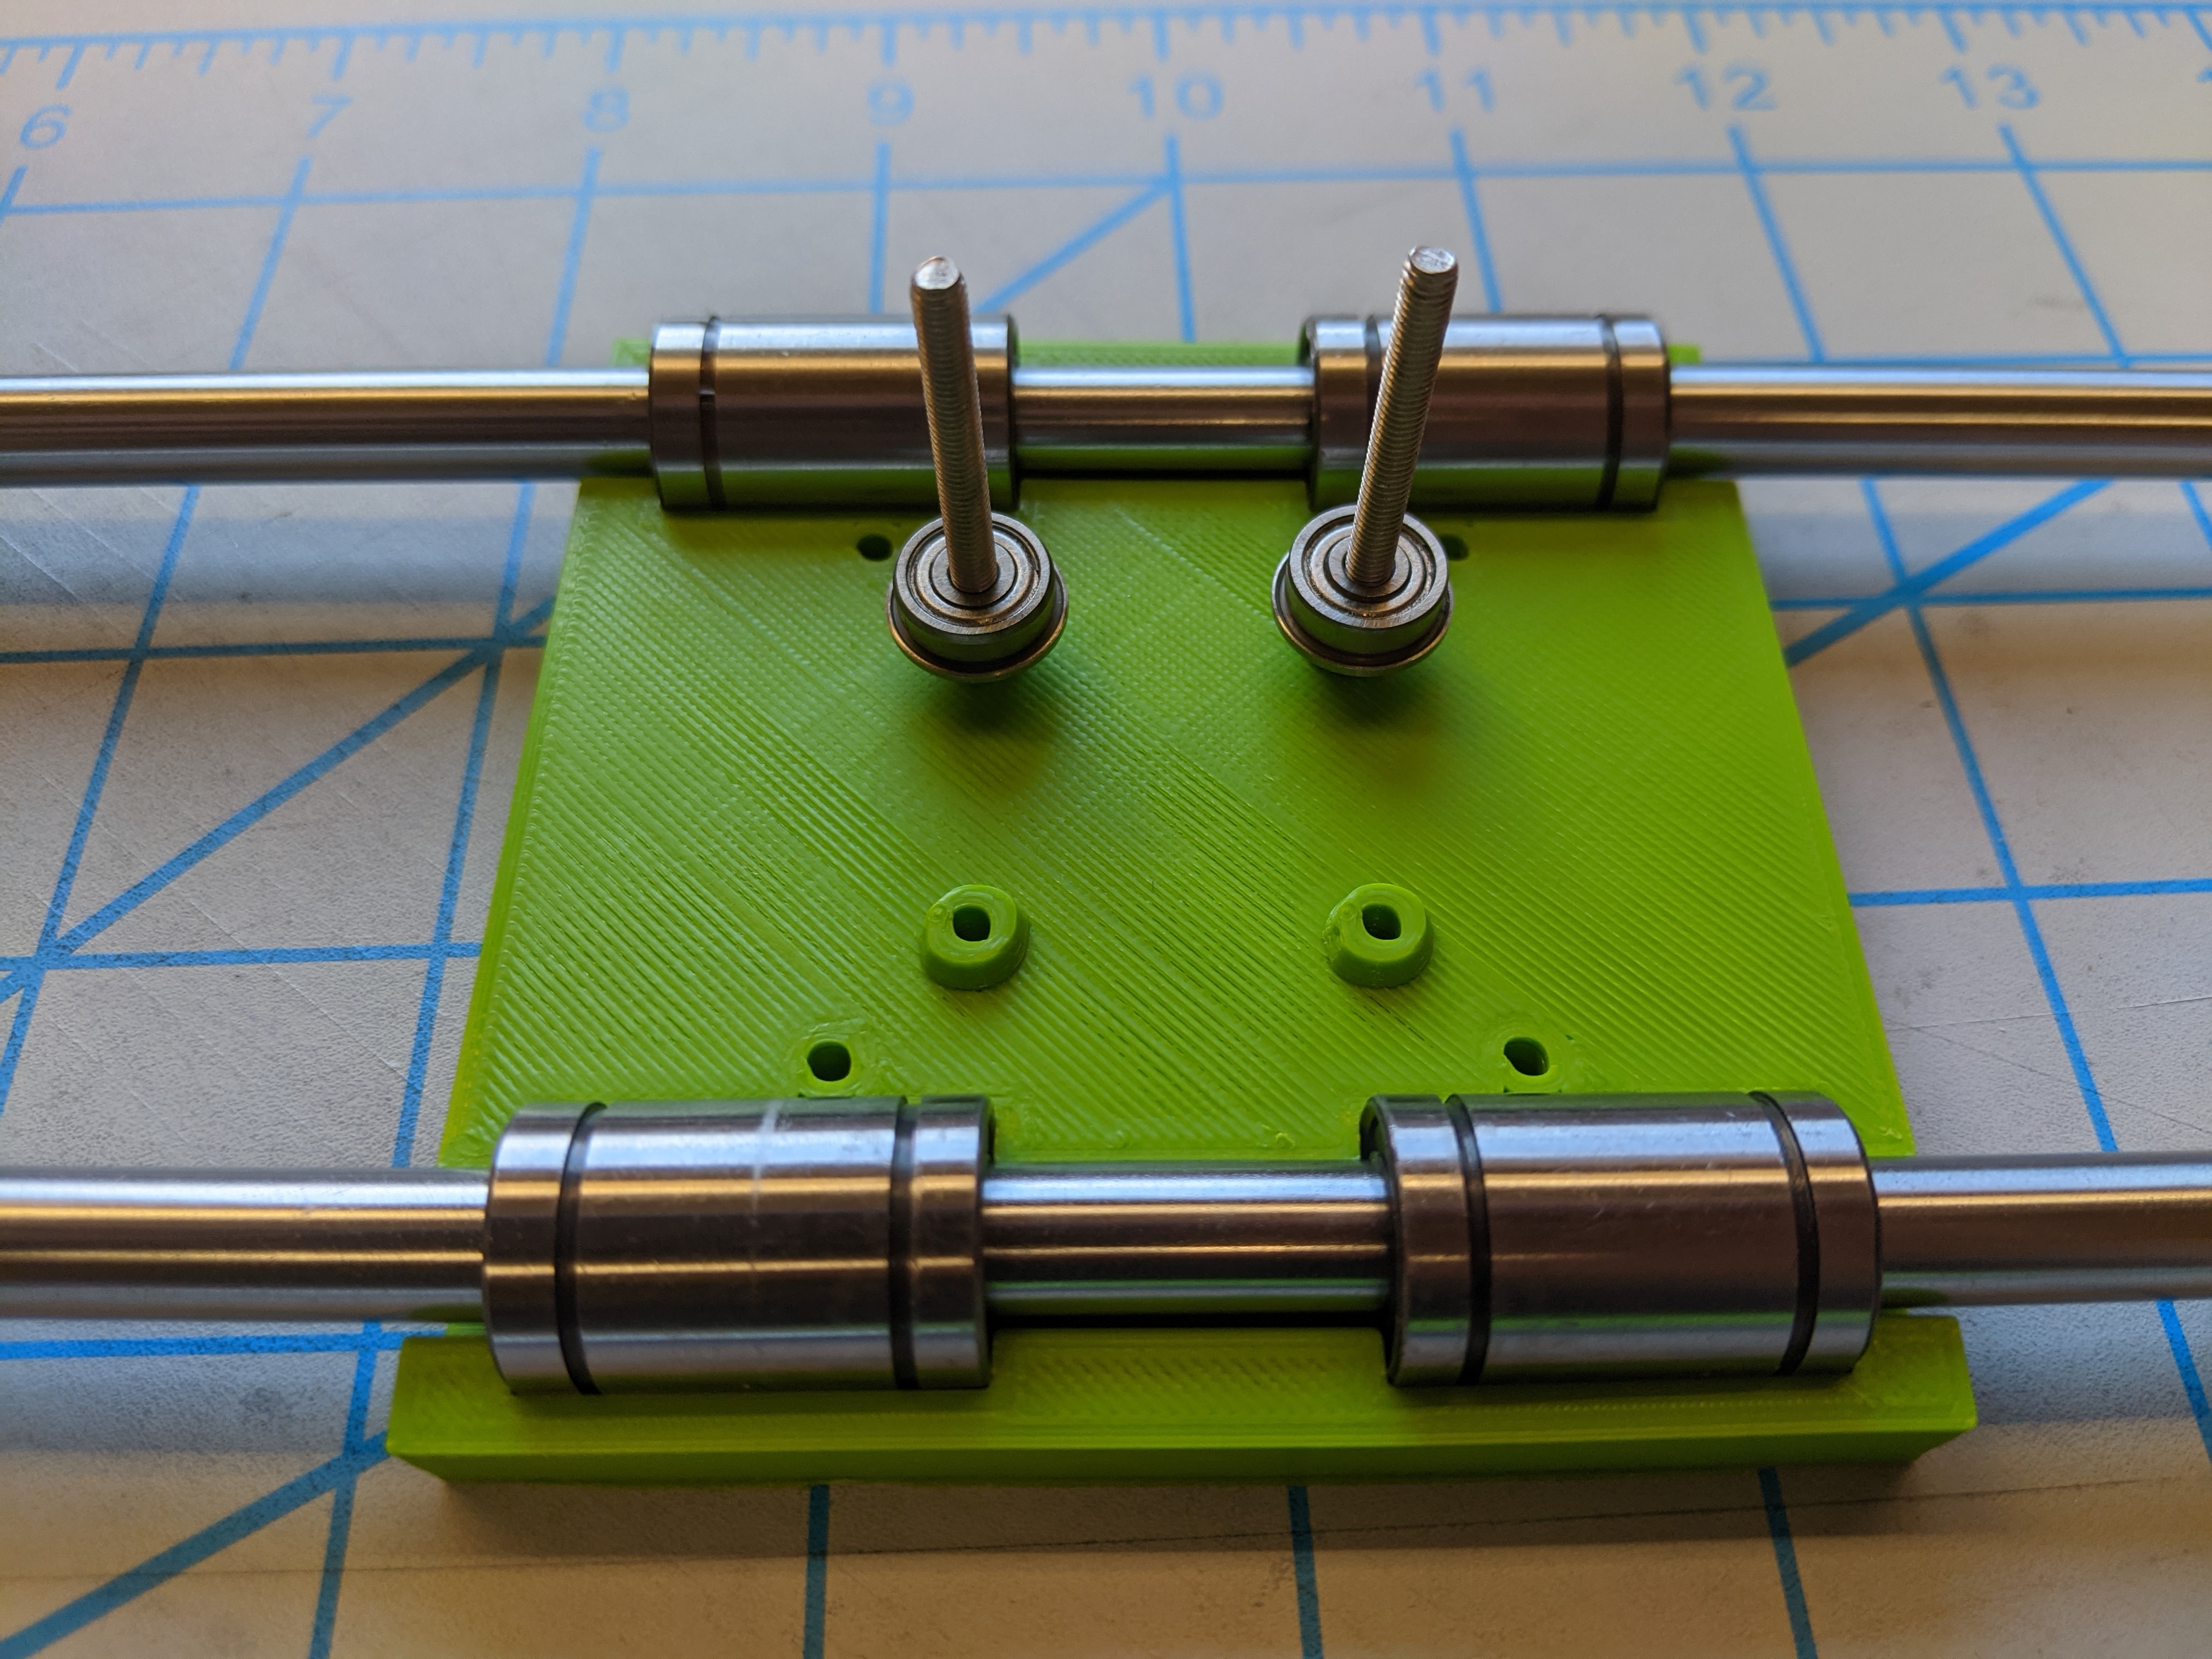
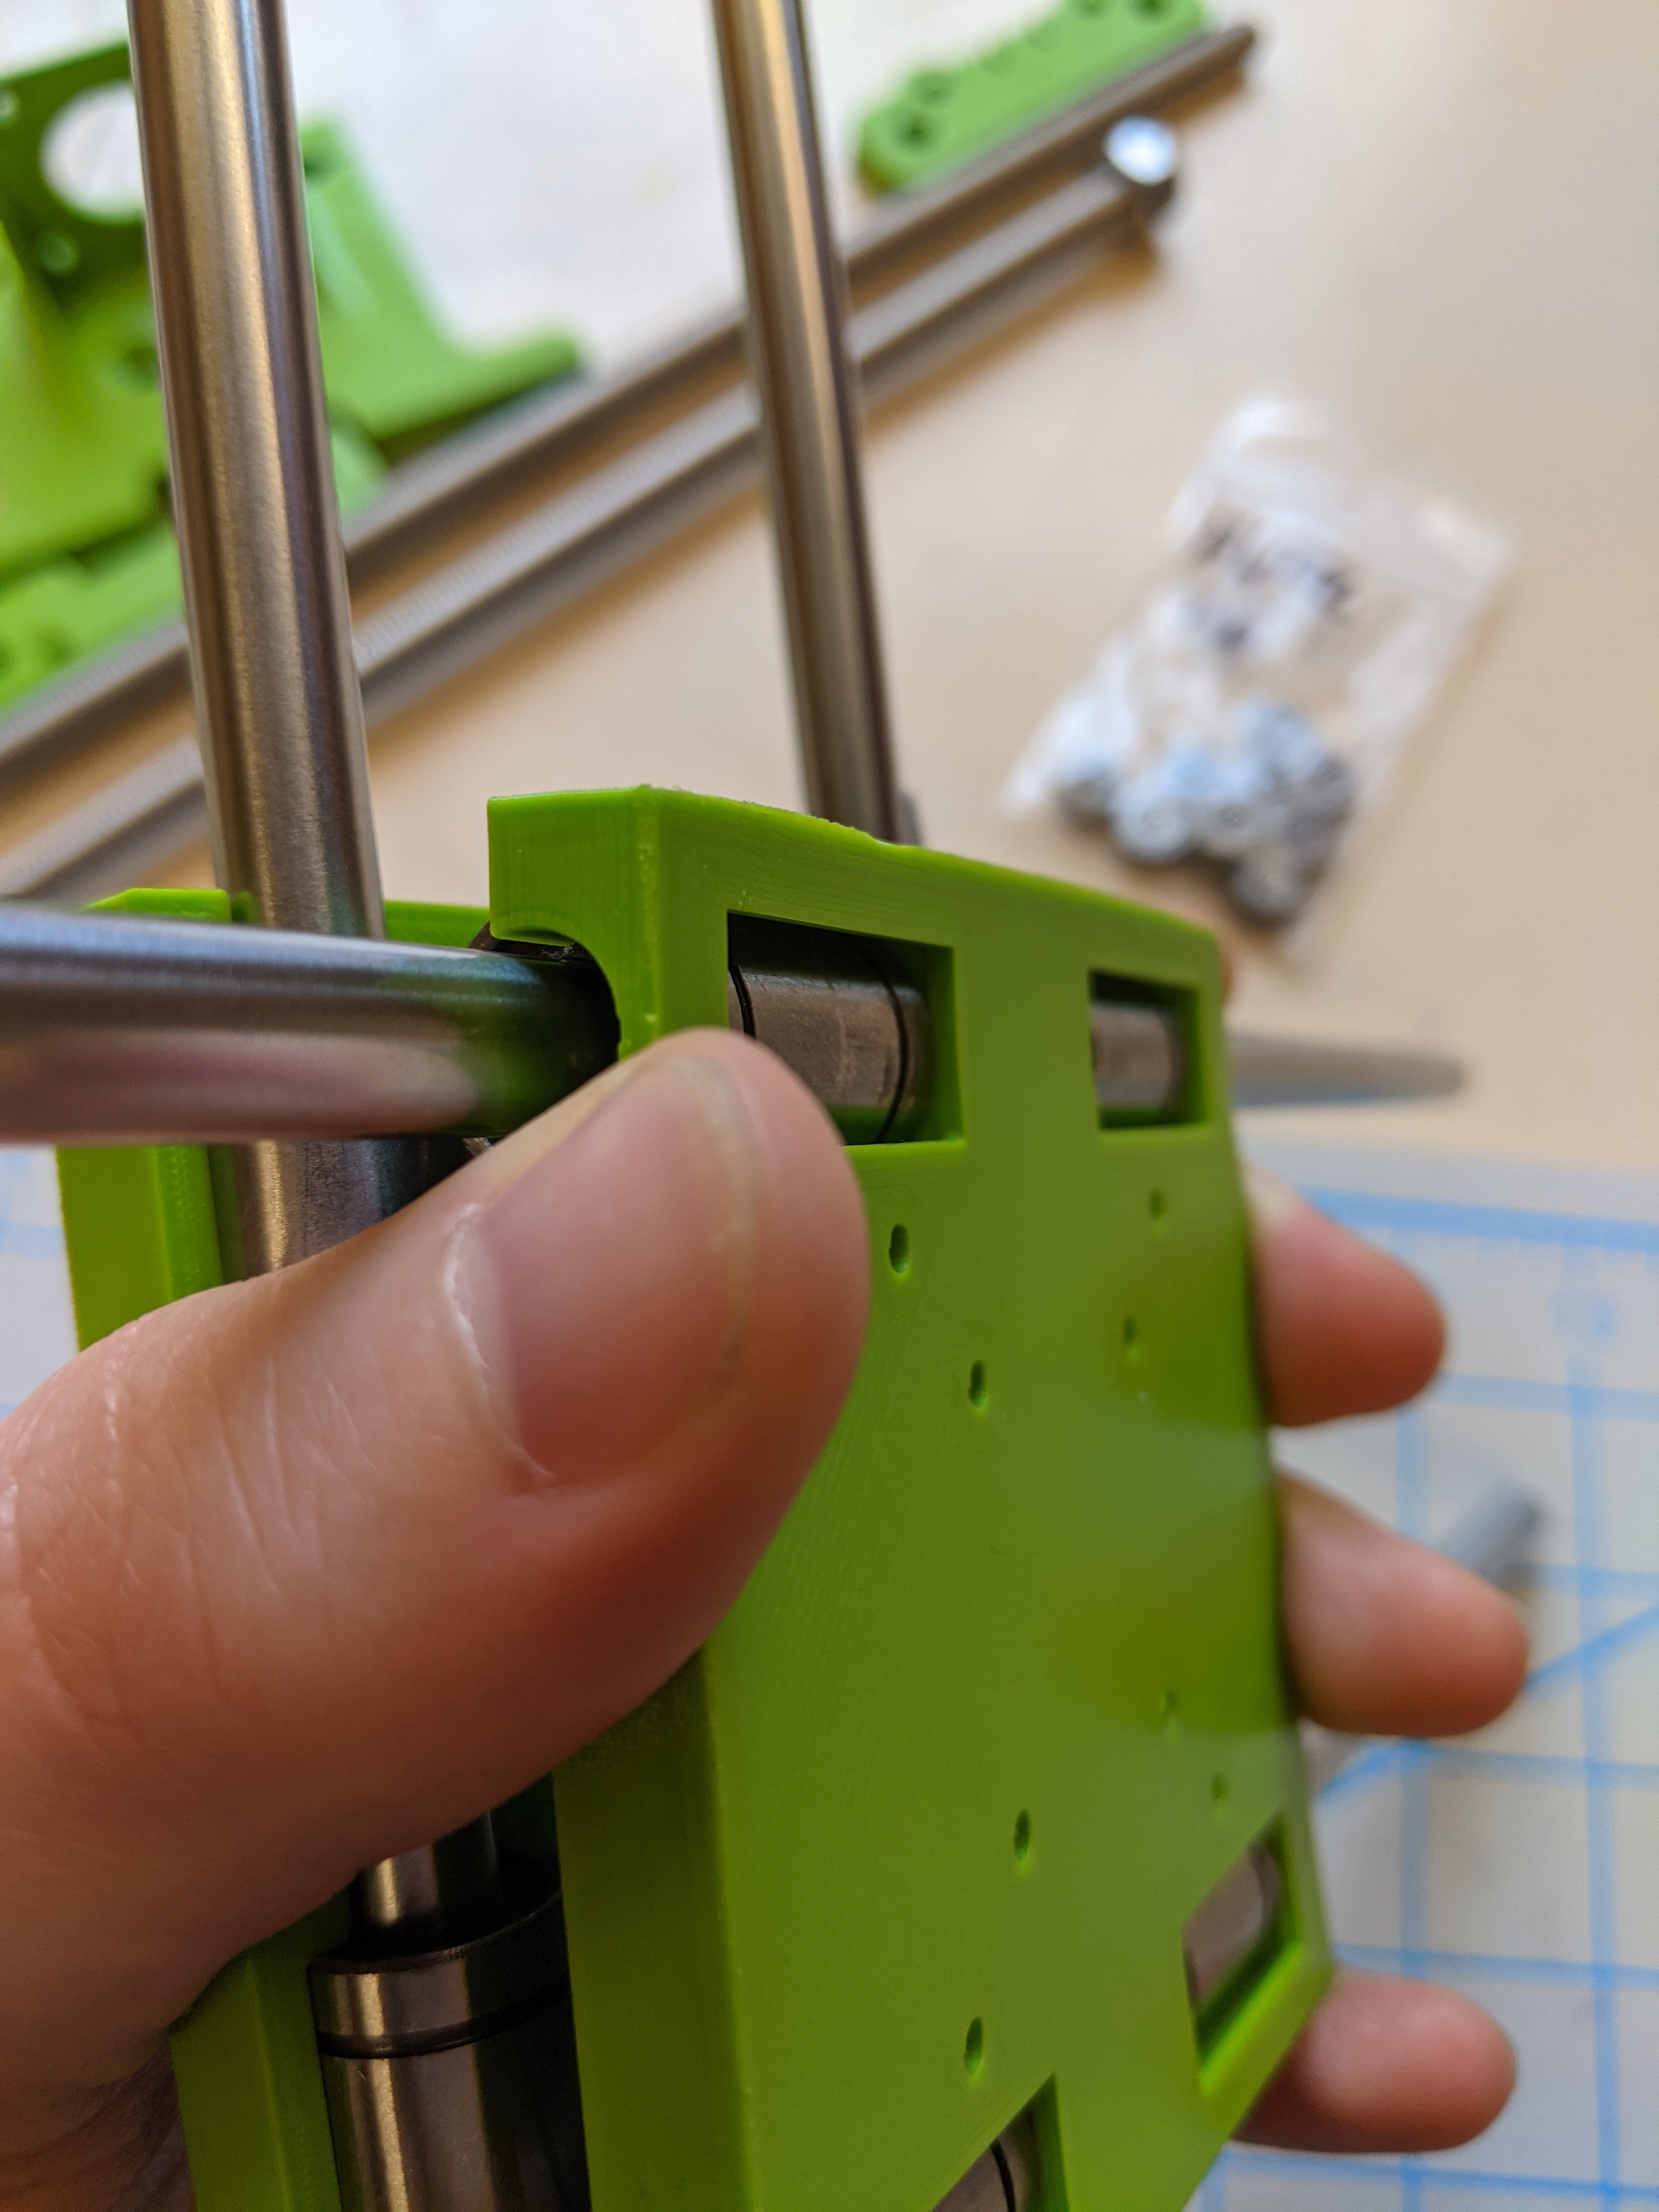
Simply scaling up all the parts when printing would throw off those measurements that were correct, which meant that the 3d files needed to be redesigned – something I didn’t know how to do. Learning that skill set added time to the project, and while I was able to re-shape the files, my new versions were often just too large for the components, which would have resulted in a wobbly and inconsistent print. However, they were sufficient for assembling a test-build that could then be iterated and improved on.
After redesigning and reprinting the files, and salvaging the parts for use in this new, redesigned 4xiDraw, the device could be assembled a second time.
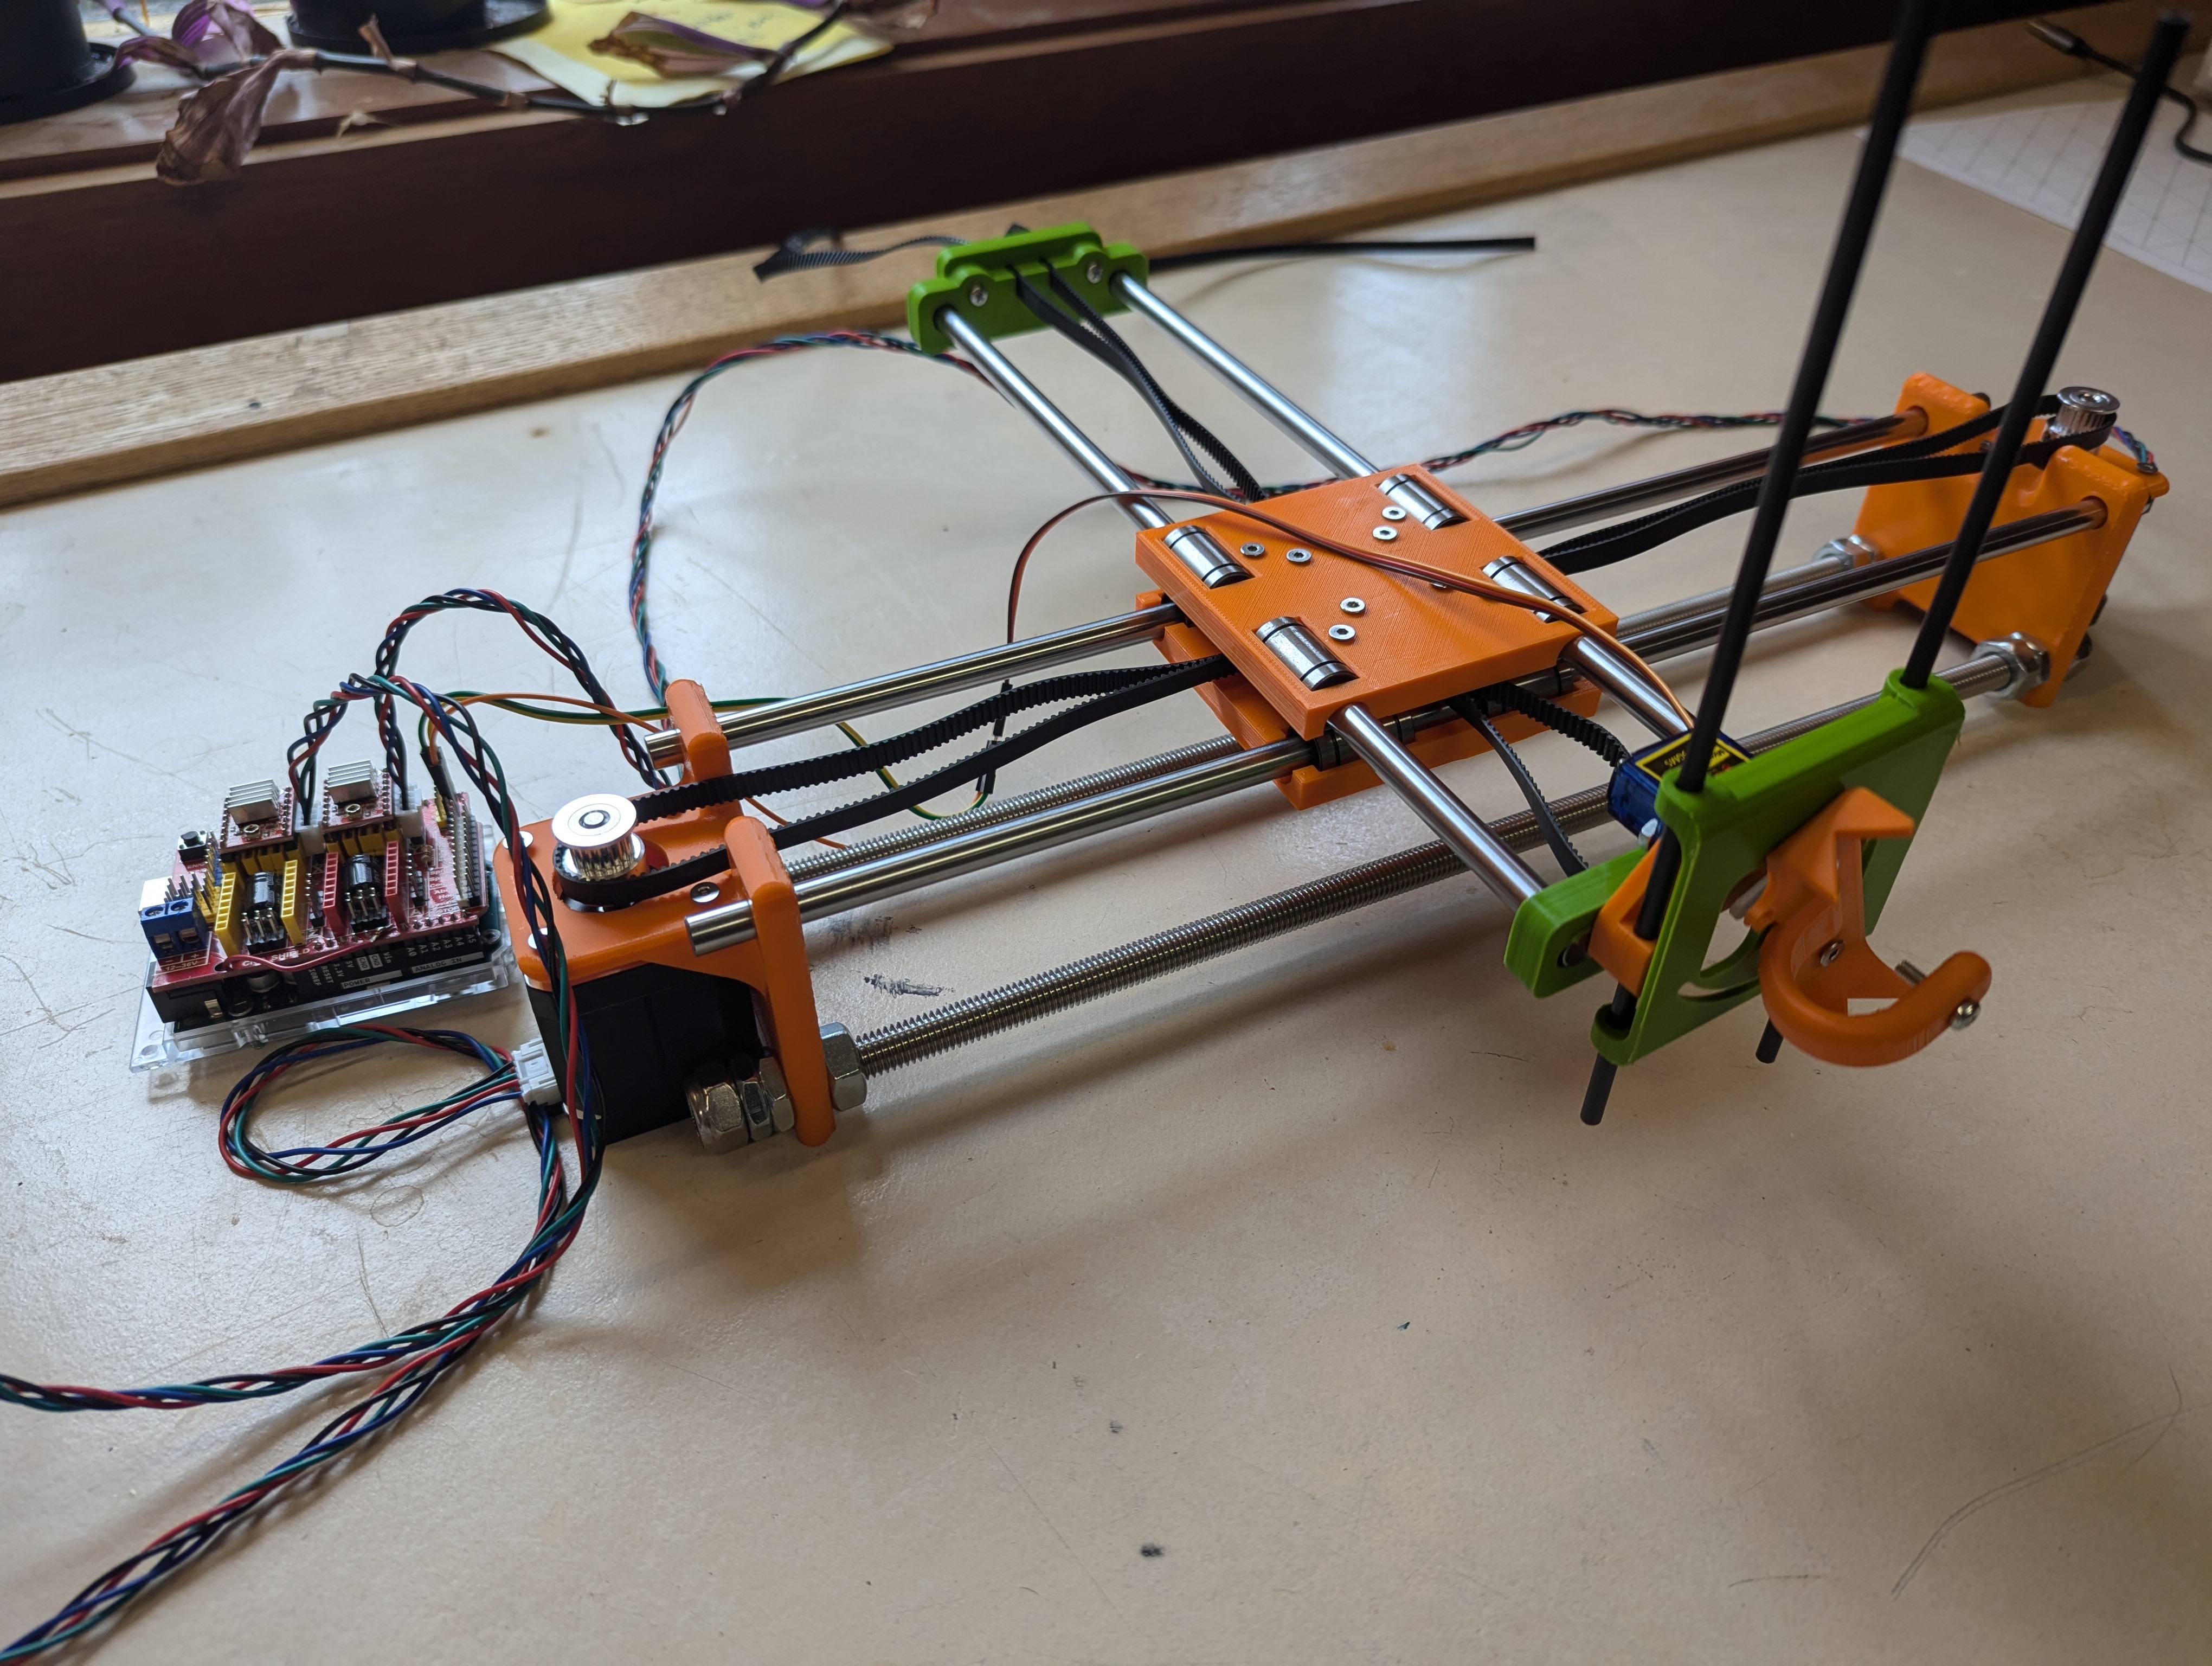
This version, unfortunately, had other issues – once assembly was able to progress, I found that some of the new 3d printed parts would not work as intended (being too large), and so had to combine original-design 3d parts and new-design 3d parts. Alongside this, the component list provided in the instructions is incomplete – additional parts are needed to build the 4xiDraw, but are only listed in the body of the instructions, and were referred to by industry terms, rather than specific part terms, which made sourcing them difficult.
In spite of these further delays, I was able to complete the 4xiDraw build, though at larger costs in time, effort, and money than originally anticipated.
The programming component of the project was supposed to be relatively straightforward – installing Inkscape was, as was converting images for use. However, issues again arose when trying to use the custom addons designed to operate the 4xiDraw.
I was not able to get either the original addon or the updated addon to work as intended. This might have been due to updates to Inkscape software, issues with the addon installation (though I uninstalled and reinstalled multiple times, following the guidelines provided, as well as other, alternatively sourced installation guides), or possibly due to mechanical issues.
Ultimately, rather than continue to work with the programs that were not working, I switched to direct input of commands to the 4xiDraw from the Universal GCode Sender program, which was functional. However, at that time, I discovered that there was a critical fault somewhere in our 4xiDraw build. While instructions could be sent by the computer, received by the 4xiDraw’s Arduino processor, and then forwarded to the motors, the motors themselves were not able to execute them.
When the motors were issued a command to engage in any number of rotations, their axles would progress slightly, before vibrating violently, and returning to their starting position. This occurred no matter the input. I obtained an alternate power supply, re-wired the 4xiDraw, reprogrammed the Arduino, re-installed the computer-side programs, ran the motors dependently and independently of both each other and the 4xiDraw frame, and attempted various modifications to the command prompts in hopes of generating a different result. Unfortunately, however, I was not able to get a different result, suggesting that the cause is an electrical or mechanical fault in both motors, in the wiring itself, or in the Arduino, an assumption that was supported by the developer of the 4xi, who provided some additional tests that also suggested the fault is in the components, rather than in assembly or programming. This last suggestion is also supported by the other fault I experienced, where, in spite of following assembly diagrams (and then trying alternate circuitry connections after testing), the motor commands were not being sent to the correct motors – specifically, sending a command to either the Z motor or the Y motor triggered the Y motor. This may have been an assembly issue, but, as it persisted across multiple re-assemblies, and across switching output ports, I believe it was not.
While it would have been possible to source new versions of all those parts and continue the project with additional iterations and tests, Dr. Pasek, in her role as lab director, decided that after a year of working on the 4xiDraw, further efforts would lean into the sunk cost fallacy, and to conclude the project, calling the experimental build non-viable for our purposes.
While the 4xi ultimately didn’t work, it didn’t necessarily fail. Partly, this is because there are numerous lessons that I have taken away from it (and shared with the lab as a whole), and partly this is because the goal of the build was to assess the viability of the 4xi as a budget-friendly option for future lab projects.
To address the latter “success” first, this project has failed as an actual build. The 4xiDraw has proven to be difficult and costly to assemble (with a total material cost of 580.77 CAD, which is comparable to the 599 CAD cost of the iDraw), and has been time consuming, requiring around 150 (non-consecutive) labour hours over the past 2 years I have been working on it.
Further, even if the 4xiDraw had been functional (without the technical issues that led to the cancellation of the build), it would not have been particularly useful – the multiple scales of 3d printed parts, modified parts, and assembly issues have led the 4xidraw to be somewhat physically unstable and imbalanced. The pen carriage does not sit firmly in place, and the guide shafts shift in their holders. While this could have been addressed with further modifications (such as super glue, padding, additional reprinted pieces, etc), it still would not have had the accuracy of a machined pen plotter like the iDraw, making it difficult to use it for the precise work required by the planned future projects.
Moving to our best practices, then, rather than just thoughts: